
How to Remove Acrylic Nails at Home
To remove acrylic nails at home, trim the extensions short, file off the shiny top layer, and soak cotton pads in 100% acetone. Place them on your nails, wrap each fingertip in foil for 20–30 minutes, then gently push off the softened acrylic with a wooden cuticle stick. Never peel or pull acrylics off, as this can tear layers from your natural nail.
What You Need to Remove Acrylic Nails at Home
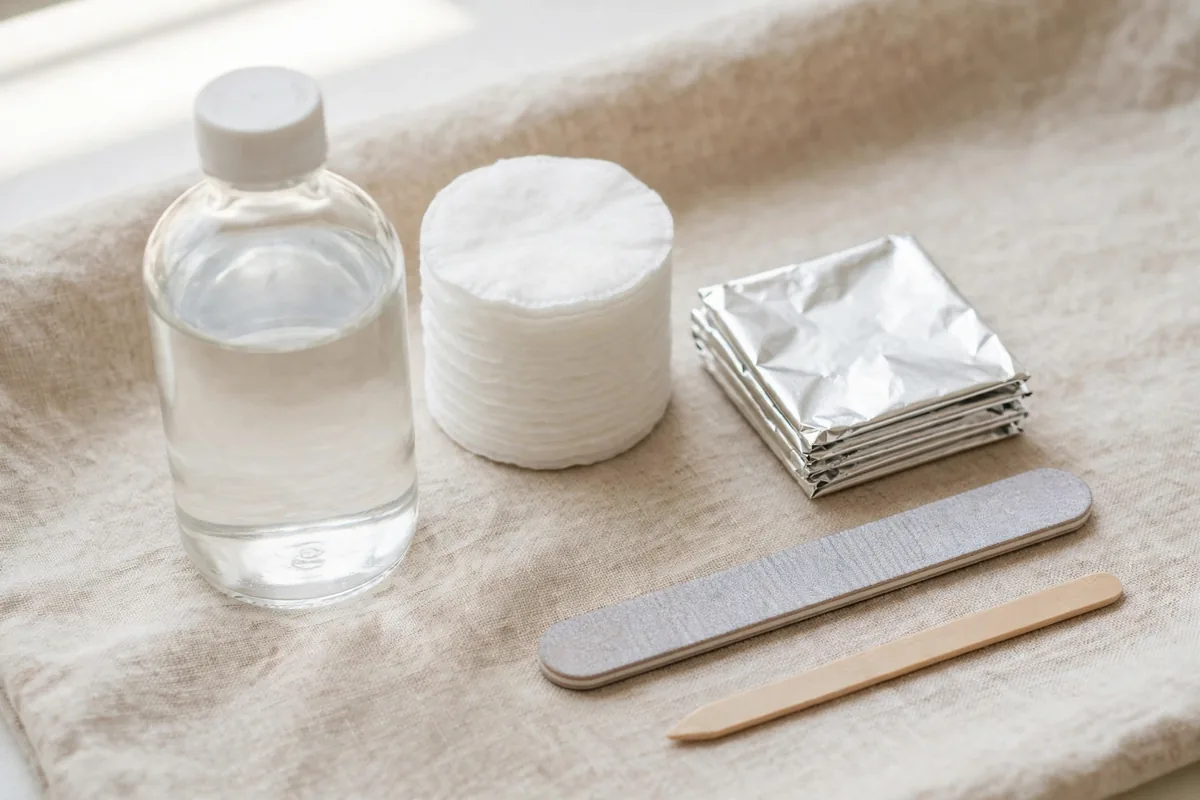
Before starting, gather everything you need. Having your supplies ready makes the process easier and reduces the temptation to rush or pull off softened acrylic. Here are the basic supplies:
- 100% pure acetone: This is the main product used to dissolve and soften traditional acrylic enhancements.
- Nail clippers: Use these to shorten long acrylic extensions before soaking.
- Coarse nail file: A nail file helps remove the shiny topcoat and reduce the acrylic thickness.
- Cotton balls or cotton pads: These hold acetone against the acrylic surface.
- Aluminum foil: Small pieces of foil keep the acetone-soaked cotton in place.
- Wooden cuticle stick: This can help gently move away acrylic that has already softened.
- Petroleum jelly: It helps protect the skin surrounding your nails from excessive acetone exposure.
- Cuticle oil and hand moisturizer: These help restore moisture after removal.
Work in a well-ventilated room. Acetone produces strong fumes and is highly flammable, so keep it away from cigarettes, candles, open flames, and other sources of ignition.
How to Remove Acrylic Nails at Home Step by Step
Removing acrylic nails takes time, especially if the extensions are thick or have multiple layers of product. Do not expect the entire process to take only a few minutes. Follow these steps instead of trying to force the acrylic off.
Step 1: Trim Your Acrylic Nails
Start by shortening the acrylic extensions as much as possible without cutting into your natural nails. Use a clean nail clipper to remove the extra length. If your acrylic nails are extremely long, trim them gradually rather than squeezing the clippers too hard. Shortening the extensions makes the remaining acrylic easier to manage because there is less material to soften. Be careful around areas where the acrylic has lifted, as pulling on loose sections can damage your natural nail.
Step 2: File Away the Topcoat
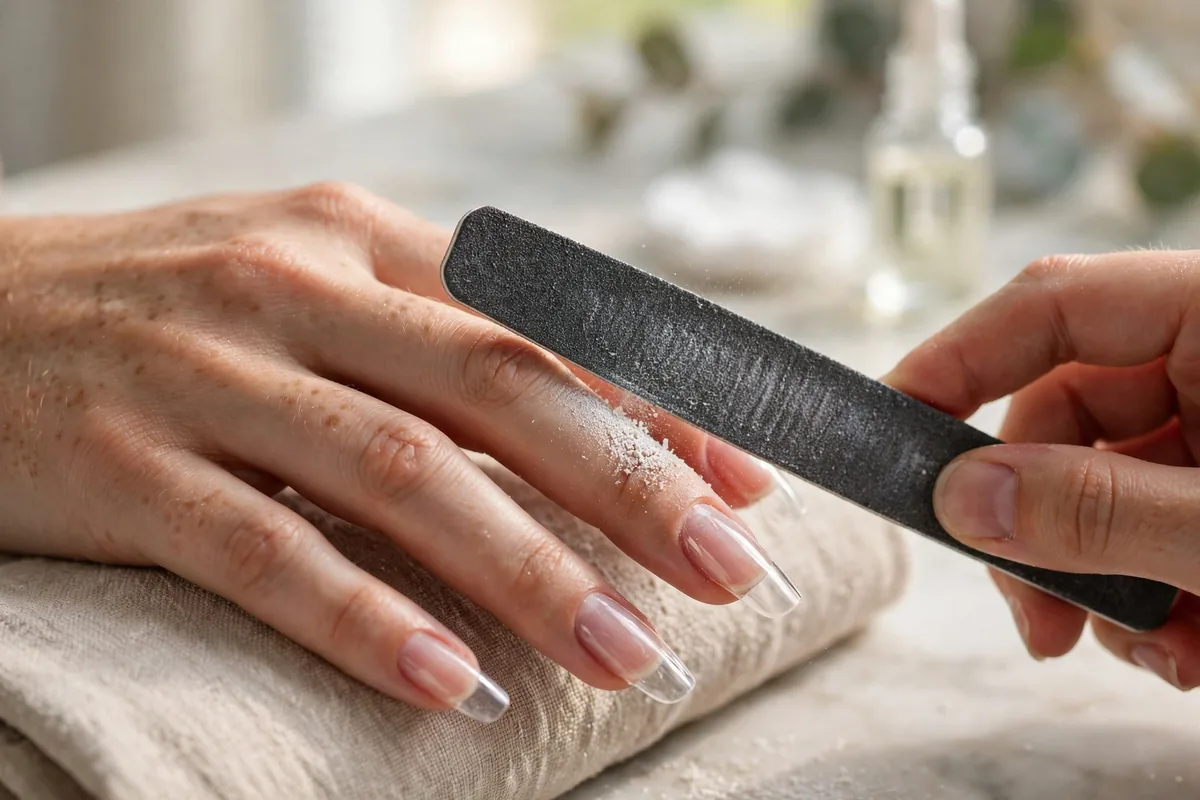
Acrylic nails usually have a hard, shiny outer layer that can slow down the removal process. Use a coarse nail file to gently remove the topcoat and reduce the thickness of the acrylic. Concentrate on the artificial product and avoid filing aggressively near your natural nail. You do not need to file the acrylic completely off. The purpose of this step is simply to expose the underlying acrylic material so acetone can work more effectively. If you notice that you are reaching your natural nail, stop filing that area.
Step 3: Protect the Skin Around Your Nails
Acetone can dry out and irritate the skin, particularly when it remains in contact with the same area for an extended period. Apply a thin layer of petroleum jelly around your cuticles and the skin surrounding each nail. Try not to cover the acrylic surface itself because that is where the acetone needs to work. This small preparation step can help reduce unnecessary skin exposure during removal.
Step 4: Soak Cotton in Acetone
Take small pieces of cotton and soak them in 100% acetone. Each piece should be large enough to cover the acrylic nail without unnecessarily soaking the surrounding skin. You do not need to pour a large amount of acetone over your fingers. Place one acetone-soaked cotton piece directly over each acrylic nail.
Step 5: Wrap Your Nails With Aluminum Foil
Cut aluminum foil into small squares large enough to wrap around your fingertips. Place the foil around each finger, securing the cotton against the acrylic. The wrapping should be firm enough to hold everything in place but not so tight that it causes discomfort or restricts circulation. Leave the wraps in place for approximately 20 to 30 minutes as a starting point. Thicker acrylic applications may require additional soaking time.
Step 6: Check Whether the Acrylic Has Softened
After the initial soaking period, remove the foil from one finger and check the acrylic. Traditional acrylic should begin to look softened, swollen, or crumbly rather than remaining completely hard. If it is still firmly attached, do not try to pull it off. Reapply fresh acetone-soaked cotton and wrap the nail again for another short period. Some nails may soften faster than others, depending on their thickness and the products used.
Step 7: Gently Remove the Softened Acrylic
Once the acrylic has softened, use a wooden cuticle stick to gently move away the loosened material. Work slowly and apply very little pressure. The acrylic should come away relatively easily when it has softened sufficiently. If you feel resistance, stop. Do not dig underneath the artificial nail, scrape aggressively, or force the product away from your natural nail. Reapply acetone and allow more time for the remaining acrylic to soften.
Step 8: Smooth and Clean Your Natural Nails
After removing the acrylic, wash your hands with mild soap and water to remove acetone and leftover product. If there are small rough areas, use a fine nail buffer very gently. Avoid excessive buffing because natural nails can already be thin or sensitive after wearing acrylic extensions. You should not try to make your natural nails perfectly smooth by filing away every visible imperfection.
How to Remove Acrylic Nails Without Acetone
Some people prefer to avoid acetone because of its strong smell and drying effects. However, traditional acrylic products are designed to resist ordinary water and household substances, which makes them difficult to remove without a suitable solvent. Warm water, soap, vinegar, and regular nail polish remover are not reliable substitutes for dissolving traditional acrylic enhancements. If you want to avoid acetone, the safest alternative is usually to have a professional nail technician remove the acrylics. A technician can assess the product and use an appropriate removal technique without unnecessarily damaging the natural nail. Do not attempt to replace acetone with strong household chemicals, cleaning products, or industrial solvents.
Gel, dip powder and hard gel nails are different from traditional acrylics, and each may need a slightly different removal method. If the product does not soften with acetone, do not force it off — visit a nail technician instead.
How Long Does It Take to Remove Acrylic Nails at Home?
The time depends on how thick the acrylic application is, how much product remains, and whether the nails have additional layers such as hard gel or decorative coatings. A thin acrylic application may soften more quickly, while thick extensions can require several rounds of soaking. For planning purposes, allow approximately 30 to 60 minutes or longer for the removal process. This is an estimate rather than a guaranteed timeframe. If the product does not soften after repeated attempts, it may not be traditional soak-off acrylic. Some nail enhancements require professional filing or a different removal technique.
How to Protect Your Natural Nails After Removing Acrylics
Your natural nails may look dry, uneven, or weaker after acrylic removal. This can happen because acrylic application and removal involve filing, chemicals, and repeated exposure to artificial nail products. The goal after removal should be to protect your nails while they grow.
Keep Your Nails Short
Trim your natural nails to a comfortable length. Shorter nails are less likely to catch on clothing, bend, or break while recovering.
Apply Cuticle Oil Regularly
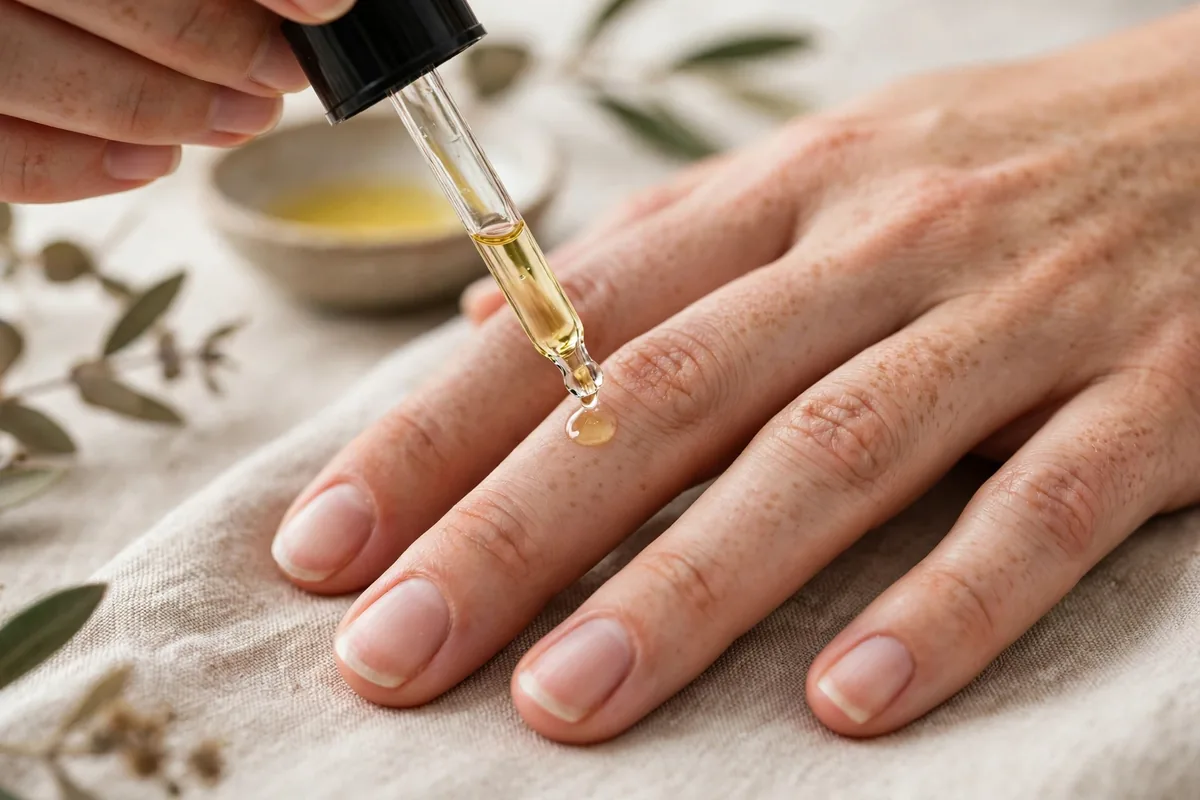
Use cuticle oil around your nail plates and surrounding skin. It helps keep the area moisturized and reduces the dry feeling that can follow acetone exposure.
Use a Hand Moisturizer
Apply a gentle hand cream after washing your hands. Pay attention to your fingertips and cuticles because these areas can become particularly dry.
Avoid Applying Another Acrylic Set Immediately
Give your natural nails a break before getting another artificial nail application. Covering brittle, peeling, or damaged nails can make existing problems worse.
Avoid Excessive Buffing
Do not repeatedly buff your nails to remove ridges or make them shiny. Excessive filing can thin the natural nail plate further.
When Should You Visit a Nail Technician?
Removing acrylic nails at home is not suitable for every situation. Consider visiting a professional if:
- The acrylic does not soften after repeated acetone treatments.
- Your natural nail is lifting or separating from the nail bed.
- You experience significant pain during removal.
- The surrounding skin is swollen, red, or irritated.
- You notice unusual discoloration or possible signs of infection.
- You have thick enhancements that appear to contain several different products.
If you experience persistent nail changes, pain, or signs of infection, seek advice from a healthcare professional or dermatologist.
Common Mistakes to Avoid When Removing Acrylic Nails
Even when you have the correct supplies, a few common mistakes can cause unnecessary damage.
- Peeling Off Acrylics: Pulling artificial nails away can remove layers of your natural nail plate.
- Using Too Much Force: If the acrylic does not move easily, it needs more softening rather than stronger scraping.
- Filing Down to the Natural Nail: Removing too much material with a coarse file can leave natural nails thin and sensitive.
- Using Acetone Near Flames: Acetone is highly flammable. Never use it near cigarettes, candles, or open flames.
- Ignoring Skin Irritation: If you experience burning or significant irritation, stop the process and rinse the affected area.
- Applying Another Set Immediately: Damaged nails need a break from artificial enhancements.
Frequently Asked Questions
1. Can I remove acrylic nails at home by myself?
Yes. You can remove traditional acrylic nails at home using 100% acetone, cotton, aluminum foil, and a nail file. The important thing is to soften the acrylic before gently removing it.
2. How long should I soak acrylic nails in acetone?
Start with approximately 20 to 30 minutes, then check whether the acrylic has softened. Thicker applications may require additional soaking. Never force the material off if it remains attached.
3. Can hot water remove acrylic nails?
No. Warm water may soften the surrounding skin, but it does not reliably dissolve traditional acrylic nail enhancements. Acetone or professional removal is generally needed.
4. Will my natural nails be damaged after removing acrylics?
They may become dry, brittle, or thin, particularly if the acrylic was applied or removed aggressively. Gentle removal, moisturizing, and avoiding excessive filing can help reduce further damage.
5. Can I use regular nail polish remover instead of acetone?
Most regular nail polish removers are not strong enough to dissolve traditional acrylic enhancements. A product containing 100% acetone is generally used for this purpose.
6. Should I apply nail polish immediately after removing acrylics?
It is better to assess your natural nails first. If they are weak, peeling, or sensitive, give them a break and focus on moisturizing rather than immediately applying another artificial product.